Installing glass blocks on a sloped surface can be a challenging yet rewarding project. As a seasoned Glass Block supplier, I've witnessed firsthand the unique aesthetic appeal that glass blocks bring to any space, especially when installed on a sloped surface. In this blog post, I'll guide you through the process, sharing valuable insights and tips based on my extensive experience in the industry.
Understanding the Basics of Glass Blocks
Before diving into the installation process, it's essential to understand what glass blocks are and why they're a popular choice for many architectural and design projects. Glass blocks, also known as glass bricks, are modular, transparent or translucent building units made from glass. They come in various sizes, shapes, colors, and patterns, offering endless creative possibilities for both interior and exterior applications.
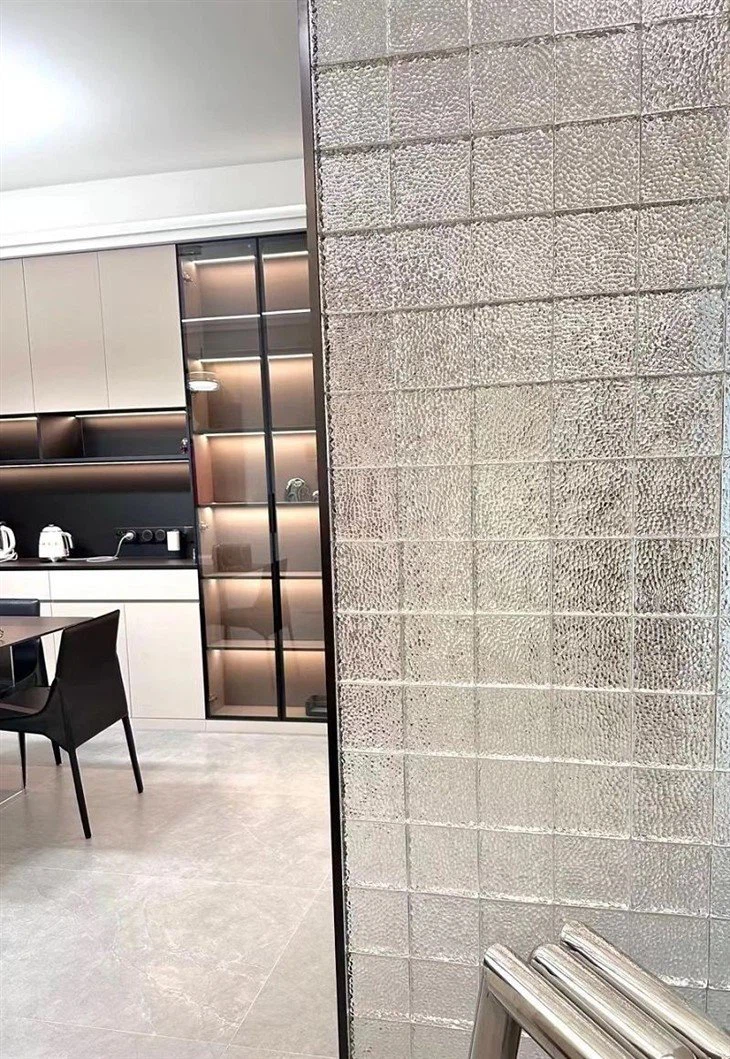
One of the primary advantages of using glass blocks is their ability to transmit light while providing privacy. They can be used to create stunning partitions, walls, windows, and even decorative elements in residential and commercial spaces. Additionally, glass blocks are durable, energy-efficient, and easy to maintain, making them a practical and cost-effective choice for long-term use.
Preparing for the Installation
The first step in installing glass blocks on a sloped surface is to assess the site and gather the necessary materials and tools. Here's a list of items you'll need:
- Glass Blocks: Choose the appropriate size, color, and pattern of glass blocks based on your design preferences and the specific requirements of your project. As a Glass Block supplier, I can offer a wide range of options to suit your needs.
- Mortar: Select a high-quality mortar that is specifically designed for glass block installation. Make sure to follow the manufacturer's instructions for mixing and application.
- Trowel: A trowel is used to apply the mortar to the glass blocks and the surface. Choose a trowel with a smooth edge to ensure a clean and even application.
- Level: A level is essential for ensuring that the glass blocks are installed straight and level. Use a long level to check the slope of the surface and make any necessary adjustments.
- Measuring Tape: Use a measuring tape to measure the dimensions of the sloped surface and the glass blocks. This will help you determine the number of glass blocks needed and the layout of the installation.
- Safety Equipment: Wear safety glasses, gloves, and a dust mask to protect yourself from the dust and debris generated during the installation process.
Once you have gathered all the necessary materials and tools, it's time to prepare the sloped surface for the installation. Start by cleaning the surface thoroughly to remove any dirt, dust, or debris. If the surface is uneven, you may need to use a leveling compound to create a smooth and flat surface.

Installing the Glass Blocks
Now that the surface is prepared, it's time to start installing the glass blocks. Here's a step-by-step guide to help you through the process:
- Mark the Layout: Use a chalk line or a straight edge to mark the layout of the glass blocks on the sloped surface. Make sure to leave a small gap between each glass block for the mortar.
- Apply the Mortar: Use a trowel to apply a thin layer of mortar to the back of the first glass block. Press the glass block firmly onto the marked layout, making sure it is level and plumb.
- Add the Next Block: Apply mortar to the side of the first glass block and the back of the second glass block. Press the second glass block against the first block, making sure it is level and plumb. Use a level to check the alignment of the blocks and make any necessary adjustments.
- Continue the Installation: Repeat the process of applying mortar and installing the glass blocks until the entire sloped surface is covered. Make sure to leave a small gap between each row of glass blocks for the mortar.
- Fill the Joints: Once all the glass blocks are installed, use a trowel to fill the joints between the blocks with mortar. Make sure to smooth the joints with a jointing tool to create a neat and professional finish.
- Clean the Surface: Use a damp sponge to clean the surface of the glass blocks and remove any excess mortar. Make sure to clean the surface thoroughly to prevent the mortar from drying and staining the glass.
Tips and Tricks for a Successful Installation
Installing glass blocks on a sloped surface can be challenging, but with the right techniques and tools, you can achieve a professional-looking result. Here are some tips and tricks to help you along the way:
- Use a Mortar Mixer: Mixing the mortar by hand can be time-consuming and labor-intensive. Consider using a mortar mixer to ensure a consistent and uniform mixture.
- Work in Small Sections: Installing glass blocks on a sloped surface can be physically demanding. Work in small sections to avoid fatigue and ensure that the mortar has enough time to set.
- Use a Support System: If the sloped surface is steep or unstable, you may need to use a support system to hold the glass blocks in place during the installation process. This can include scaffolding, braces, or temporary supports.
- Check the Alignment Regularly: Use a level to check the alignment of the glass blocks regularly during the installation process. Make any necessary adjustments to ensure that the blocks are straight and level.
- Allow the Mortar to Cure: After the installation is complete, allow the mortar to cure for at least 24 hours before applying any pressure or weight to the glass blocks. This will ensure that the mortar has enough time to set and bond the blocks together.
Conclusion
Installing glass blocks on a sloped surface can be a challenging but rewarding project. By following the steps outlined in this blog post and using the tips and tricks provided, you can achieve a professional-looking result that will enhance the beauty and functionality of your space. As a Glass Block supplier, I'm here to support you every step of the way. If you have any questions or need further assistance, please don't hesitate to contact me. I'd be happy to help you choose the right glass blocks for your project and provide you with expert advice on installation and maintenance.
If you're interested in purchasing glass blocks for your project, I invite you to visit our website Glass Brick Wall to explore our wide range of options. We offer high-quality glass blocks at competitive prices, and our team of experts is always available to assist you with your purchase. Contact us today to start your project and bring your vision to life!
References
- Glass Block Association. (n.d.). Glass Block Installation Guide. Retrieved from [Website URL]
- Manufacturer's Instructions for Mortar and Glass Blocks. (n.d.). Retrieved from [Website URL]
- Professional Installation Guides and Tutorials. (n.d.). Retrieved from [Website URL]